WHAT?
- This blog post follows on from the previous post relating to Henry Tonks and Yuko Nasu, where I began making experiments into drawing into the image on the plate using cotton buds.
- Here I wanted to continue this by using a range of other tools for drawing into the image, as well as refining my cotton bud technique. I also want to move on from using my Ex 1 paintings as base images as I don’t feel they are giving me enough information to allow me to progress.
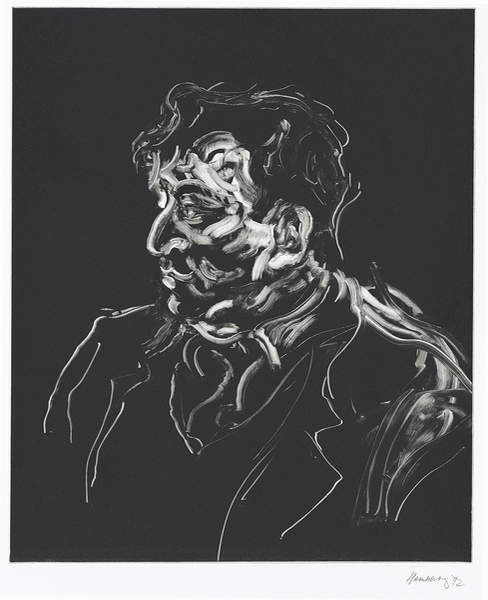
- I also looked at some monotype prints on the Bridgeman Education site, and was drawn to some by Maggie Hambling, for example her “Norman Rosenthal”, 1992 (monotype), Private Collection. I want to try some prints in this style.
SO WHAT?
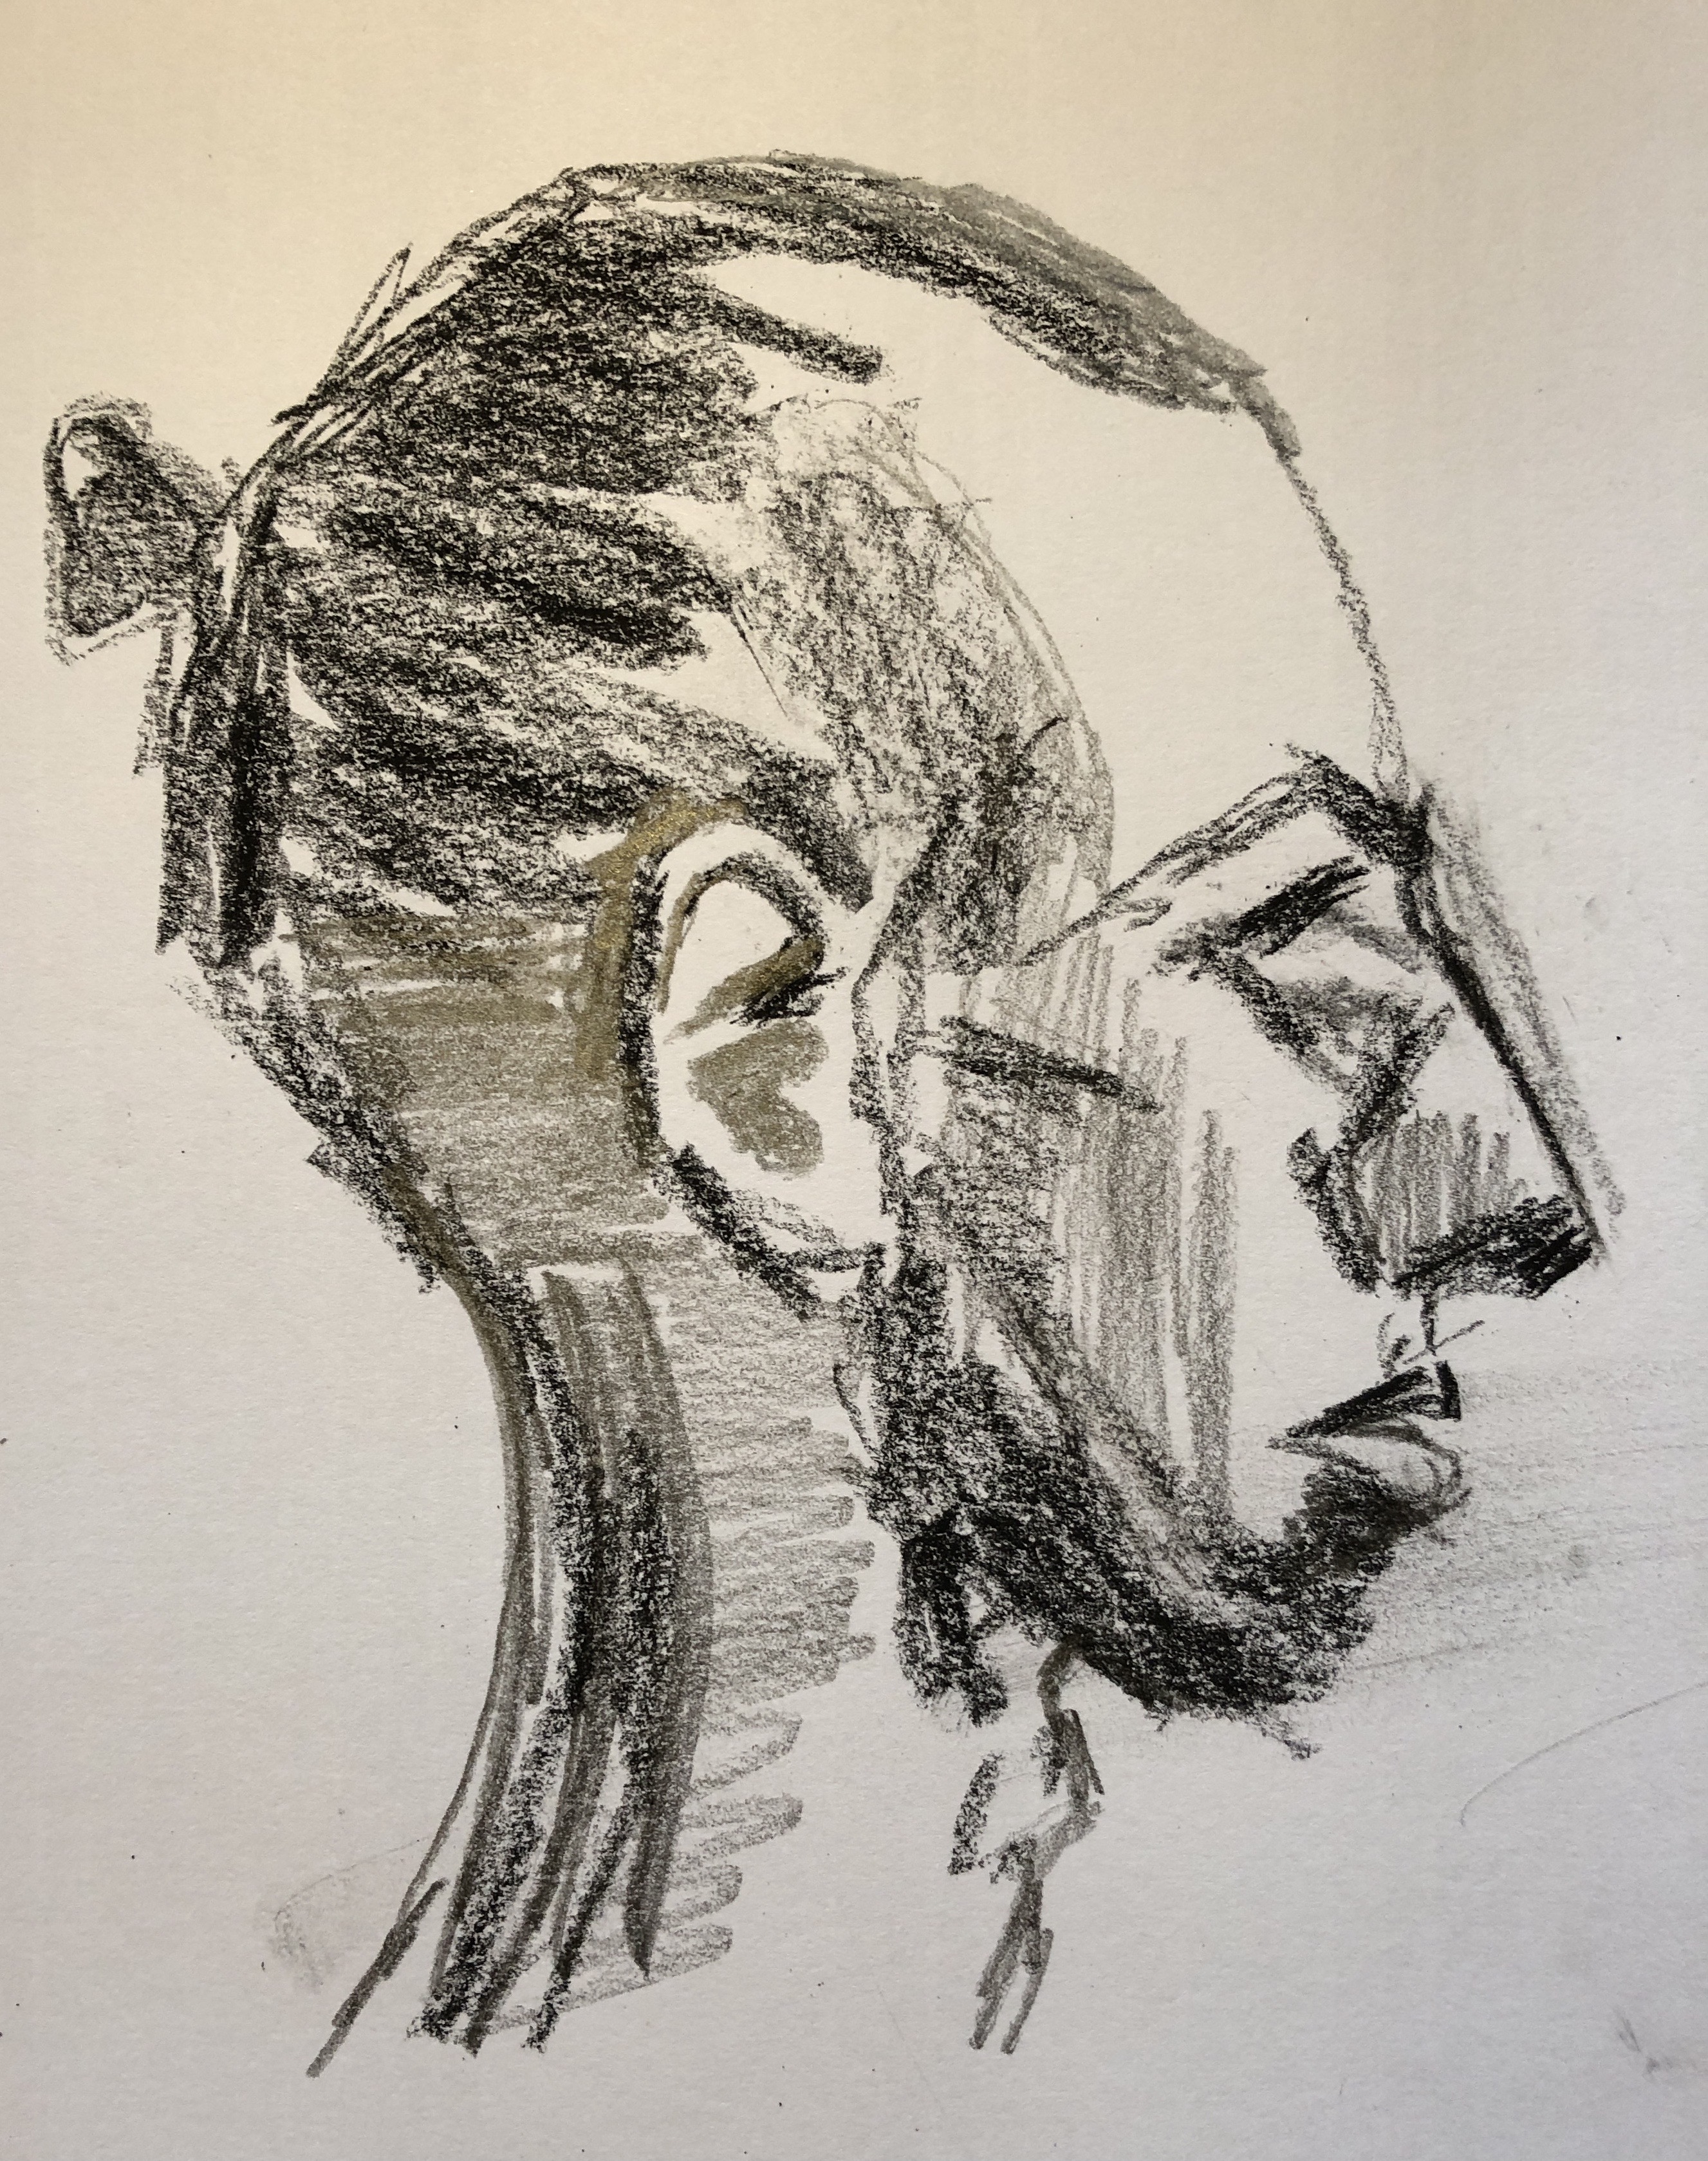
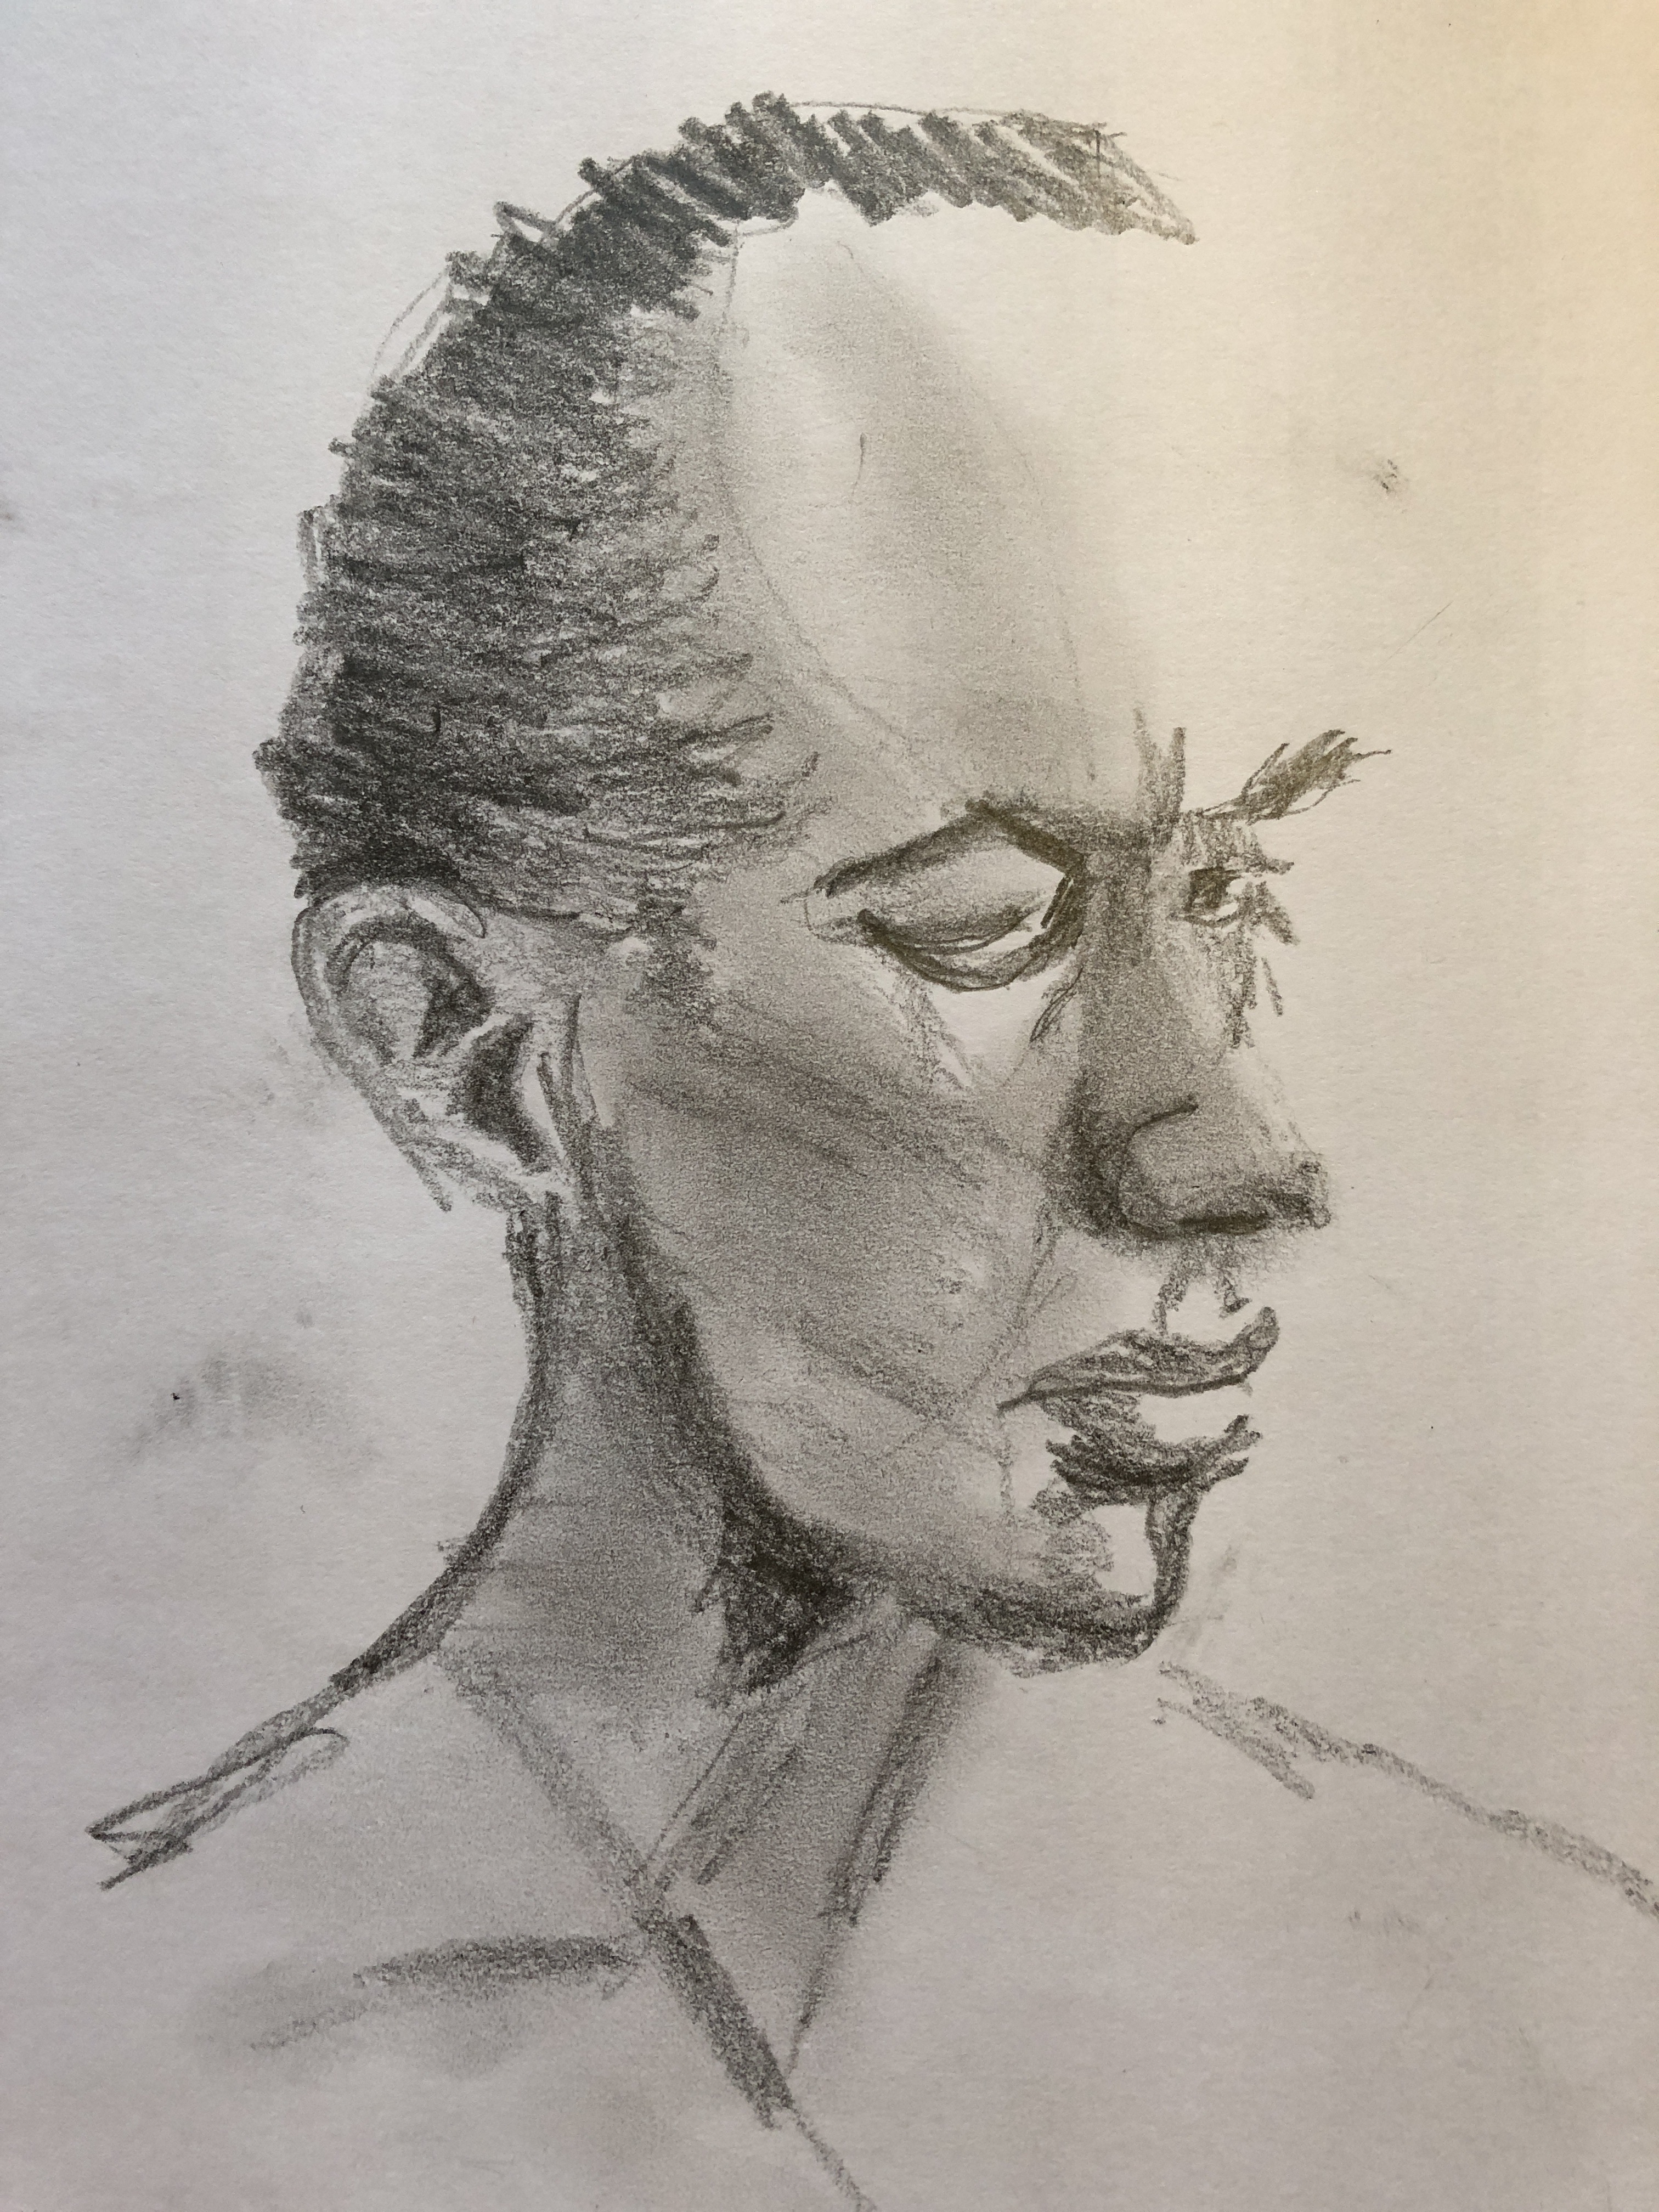
1 & 2. Having signed up for membership to Raw Umber, which makes available images and videos for life drawing, I chose to try one of the techniques suggested there. I made quick sketches of a model’s head and shoulders in two different poses using charcoal 3B pencil and a thick 2B pencil, trying to look just at shapes and tone, blocking in the biggest dark shapes first, and trying not to think of them as eyes, hair, etc. It was hard not to add lines but the artist commentating gave some helpful tips, including the fact that not every shape needs to be a “geometrical” shape (triangle, rectangle, etc) but can be completely irregular – just a splodge shape, or the “shape of a fish-hook” – she recommended giving the shapes these names to distract oneself from thinking of it as an eye, an ear, etc. I found this really helpful advice.

I worked on the first image as a base to experiment with tools. The brown colour was generated by a combination of emerald green, crimson and yellow ochre, and the paint was initially applied with a half-inch soft flat and a rigger. First, I used the cotton bud (with my dip-wipe-apply) technique to tidy and define lighter areas. Then I experimented with part of an old cut-up credit card to drag the paint of the neck to make it look more like a curved surface. This was fun but a little hard to control.
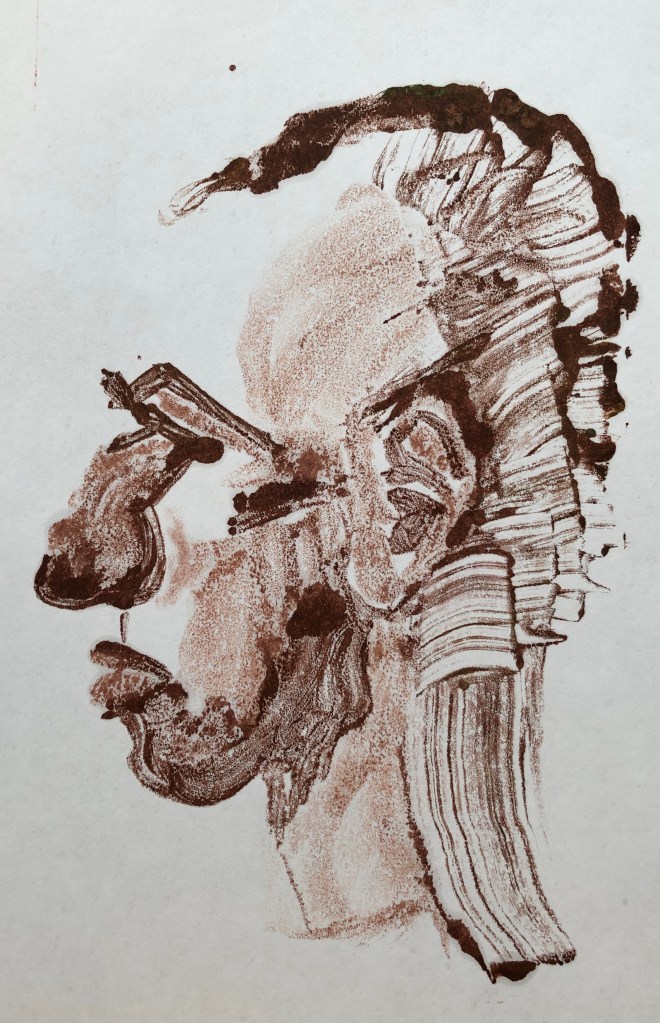
Next I tried actually applying some of the paint (hair and neck) with the card, and tidying it up with the cotton bud. Makes some interesting effects in the contrast between the card-applied versus brush-applied paint.
I particularly wanted to get his top-knot in, so in the last of this trio of prints I moved the plate over. I also added some pure crimson and yellow ochre to define the facial shadows and the ear, drawing into the ear in particular with my cotton bud and using the crimson very dilute, applied with big sweeps of the side of the rigger. Finally, the hair; I left the paint quite thick just behind the ear where it is really dark, to utilise the blobby effect you get when printing with thick paint, and I used the corner of a piece of kitchen roll dipped in solvent to try and get a more controlled moulding of the hair as it is pulled back into the topknot.

3. My Maggi Hambling-style monoprints.
First attempts revealed two things: first, it is really hard to get an even background to work into and, second, I couldn’t really see the image I was using for reference through the paint layer; so, you are basically into free mark making.
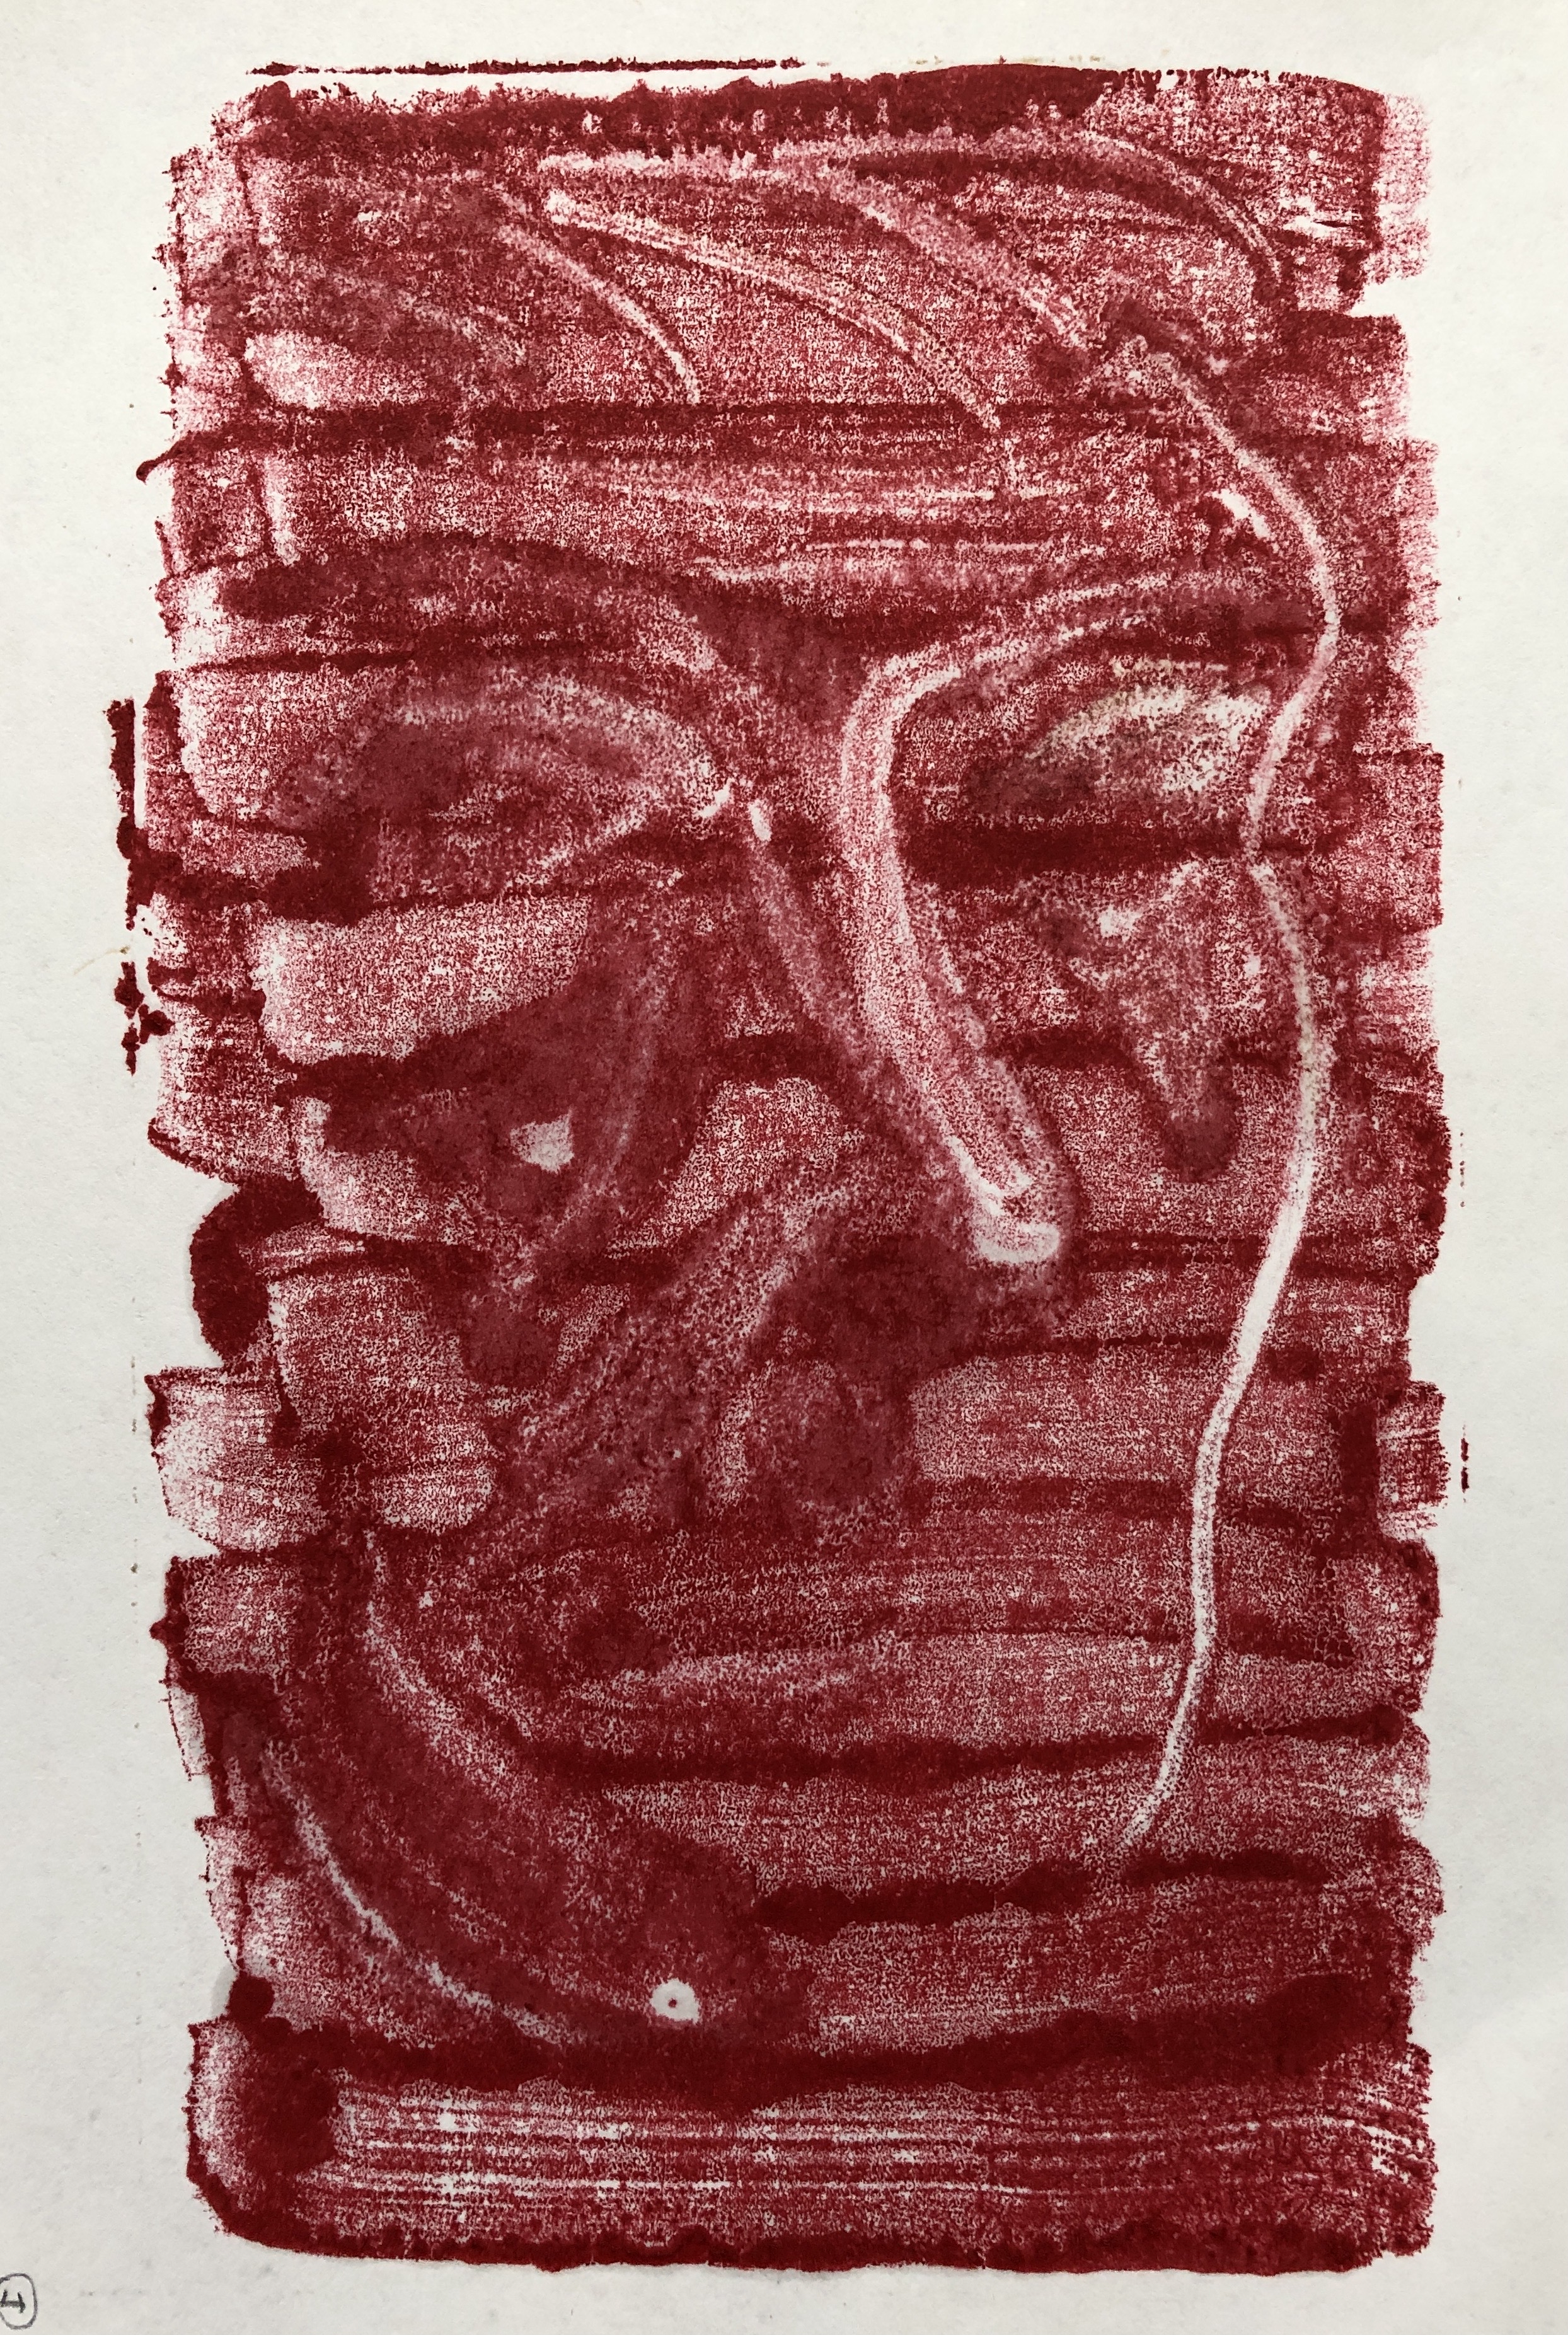
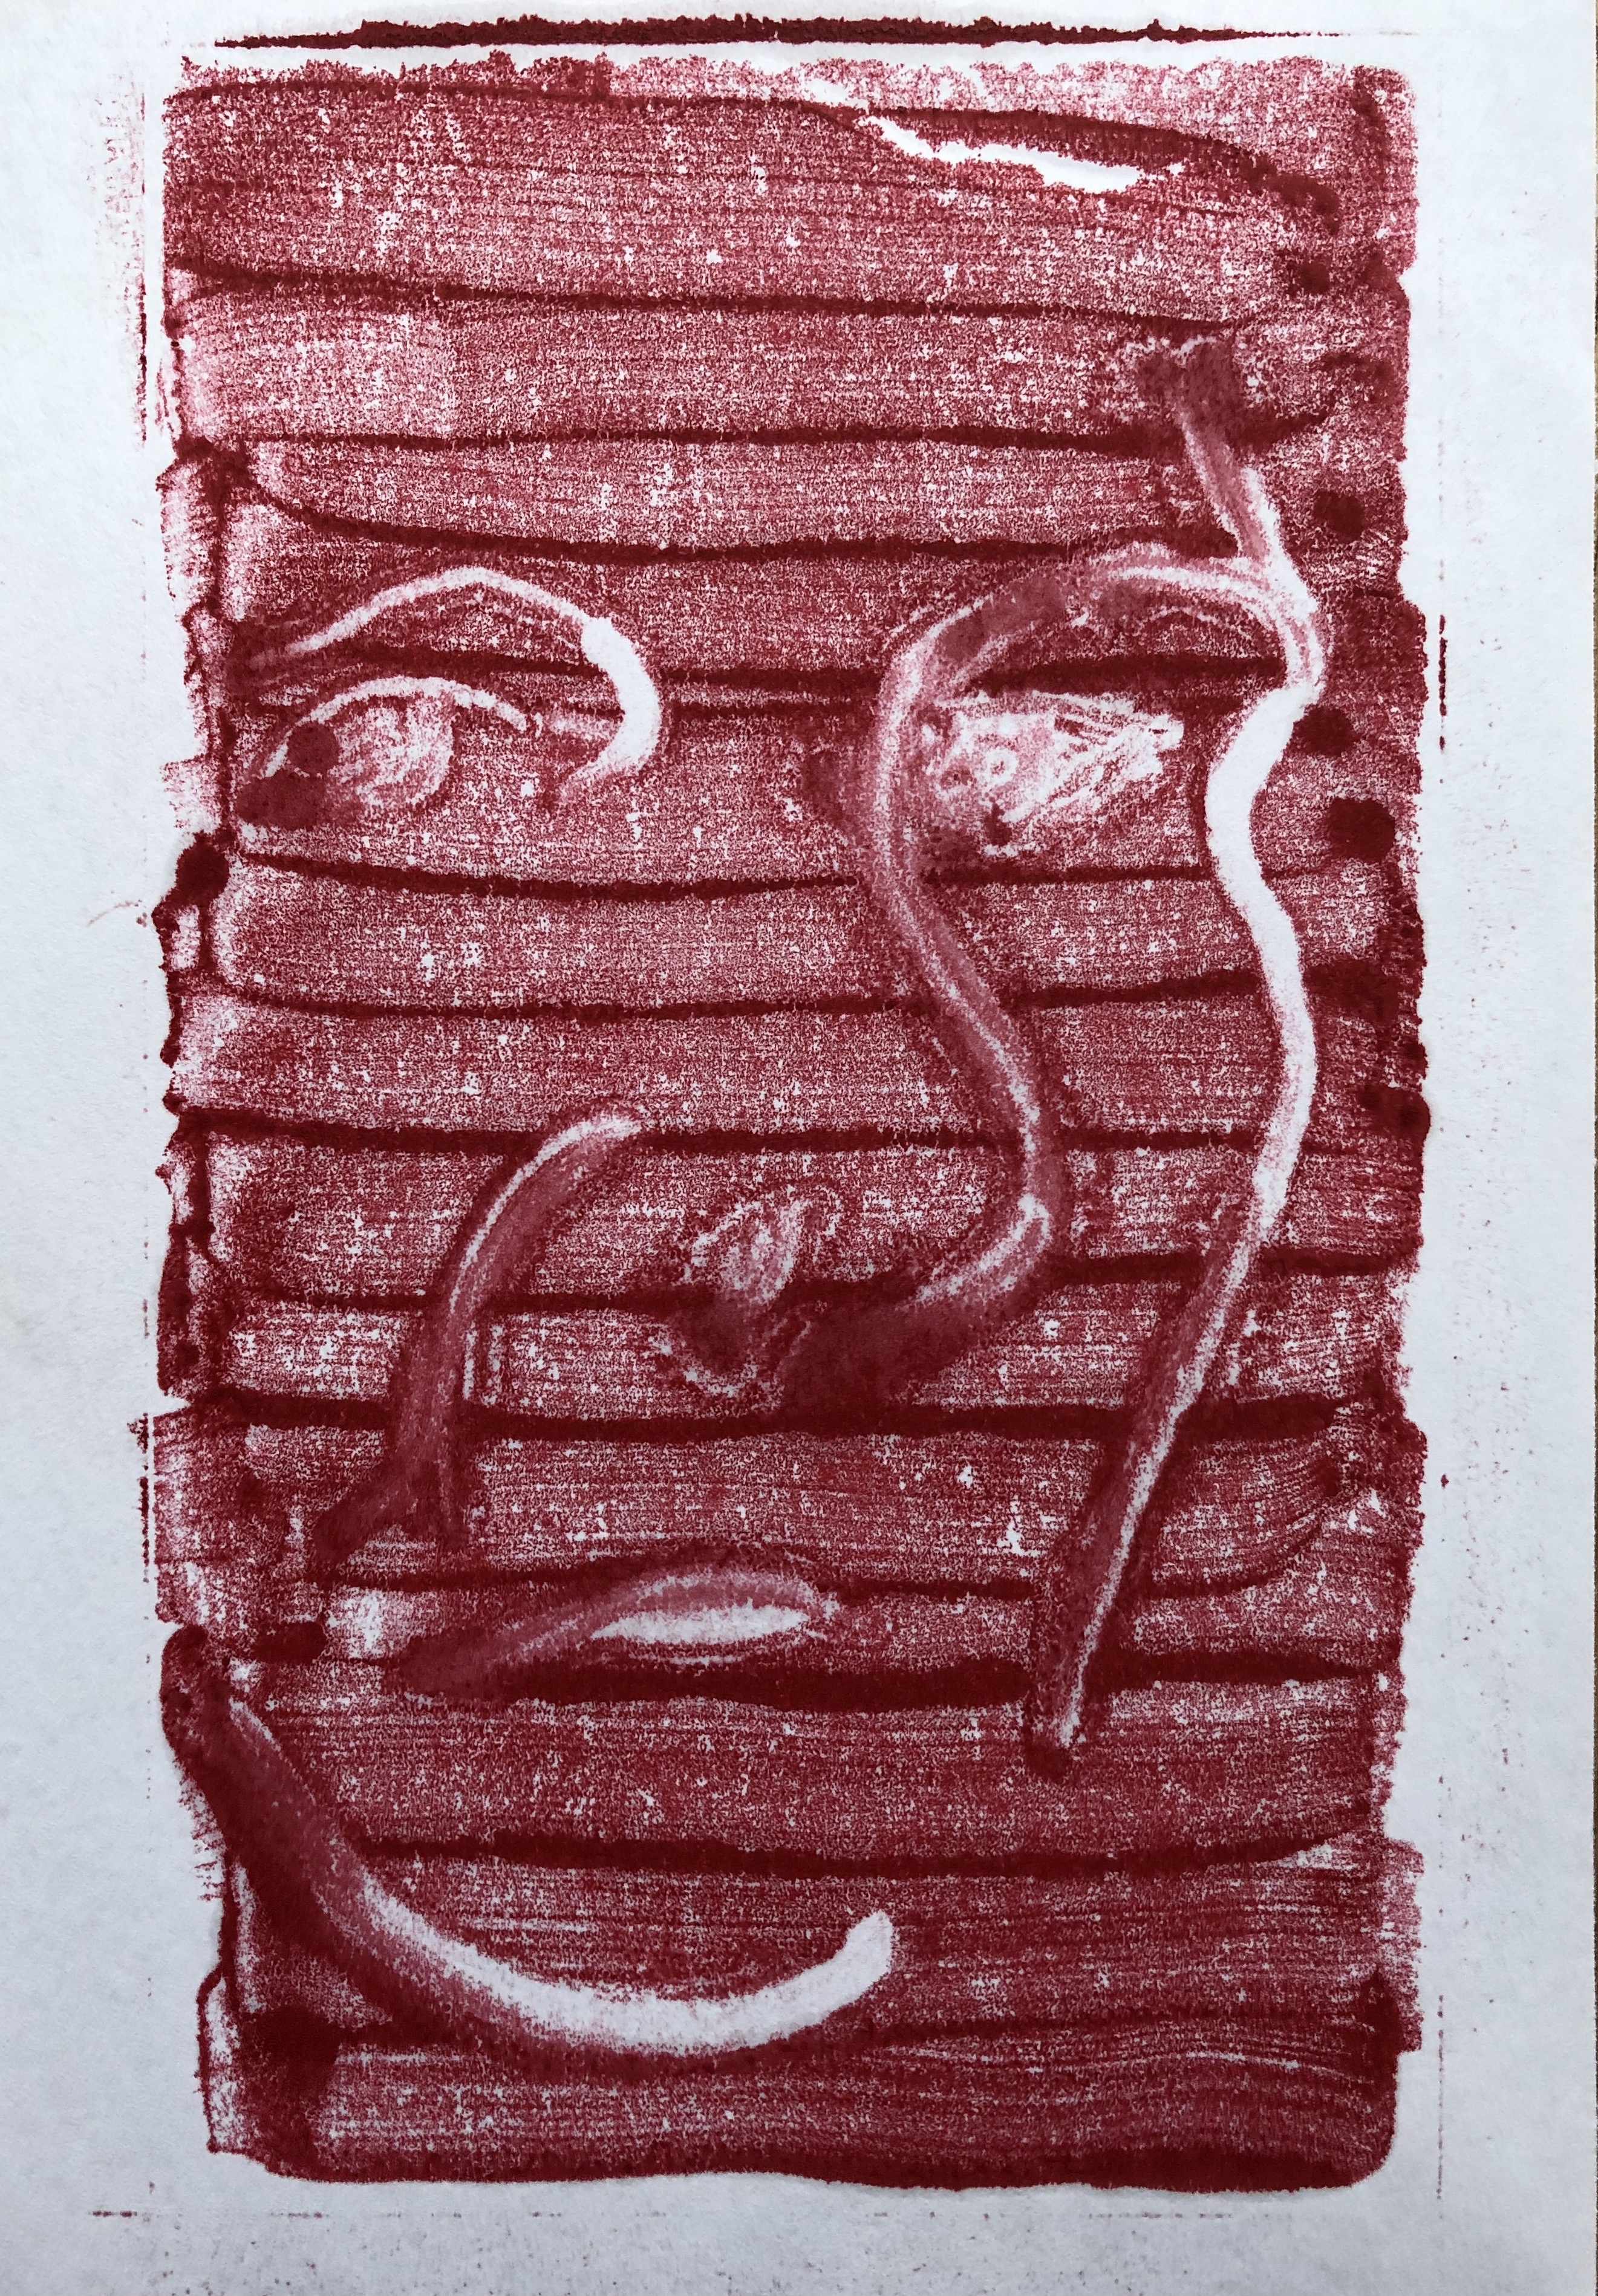
I drew a generic facial outline with a cotton bud; first attempt was before I had perfected my cotton bud rule, second was clearer, but still the background dominated the image.
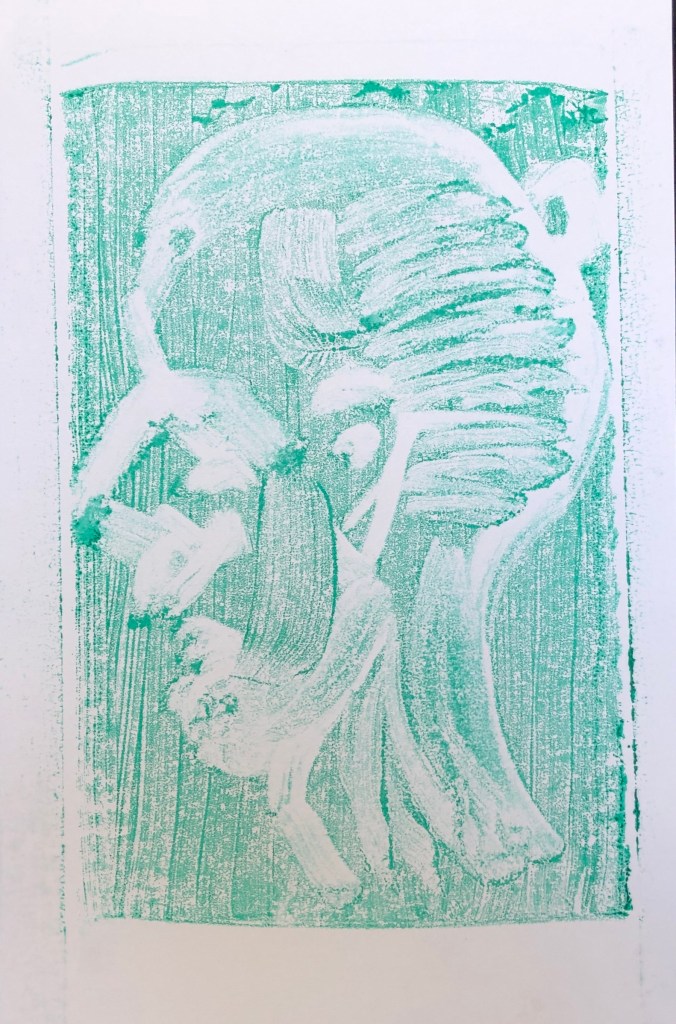
I didn’t want to let this technique go quite yet – am guessing that MH used printer’s ink with a roller, neither of which I had. I tried applying the paint with a size 6 soft flat and then stroking it back and forth and up and down with the flat side of the brush, which gave a slightly less dominant striped background, and then worked into it with a cotton pad dipped in solvent to make the image. Again, some interesting directional marks possible, though detail unclear.
Finally a bit of inspiration struck, and I tried smoothing out the paint surface on the glass with the soft edge of a feather – best yet. I then tried lifting out paint using the quill end of the feather dipped in solvent to make the image and really liked the delicate quality of the outcome.

NOW WHAT?
- I feel I have grown in confidence with my portrait drawing by focusing on tone and shape – much more practice needed, though
- I have found some useful tools for working into the paint while it is on the glass before printing – favourites are:
- Cotton bud in solvent
- Small piece of card
- Quill end of a feather

 Sue J's blog