Need to look out for workshops from Michele on academic writing – they will be in two parts, and will come out initially through the Fine Art pathway.
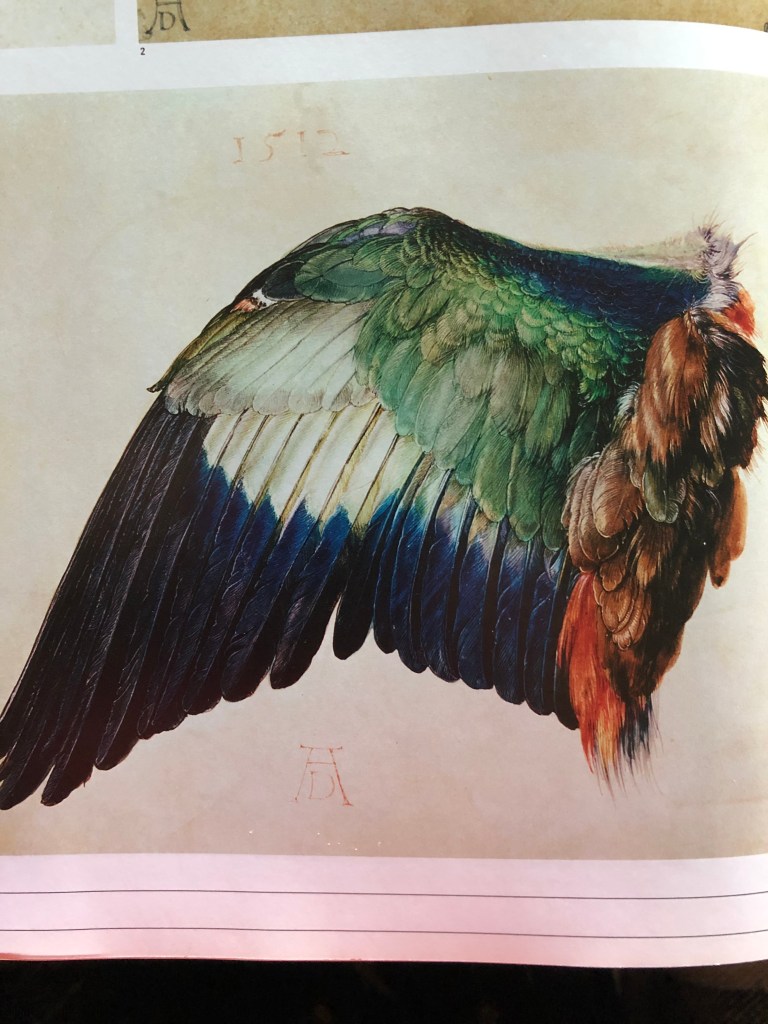
Michele gave a very interesting talk about the history of drawing, what it was/is and what it is for, and how it has changed over time – I understand that she intends to publish the subject matter of this talk in the future and so we have been asked not to share details here. I hope it’s OK for me to say that I was encouraged that she referenced Albrecht Durer and Vija Celmins in there, so I felt I was on the right lines with my Part 5 investigation!
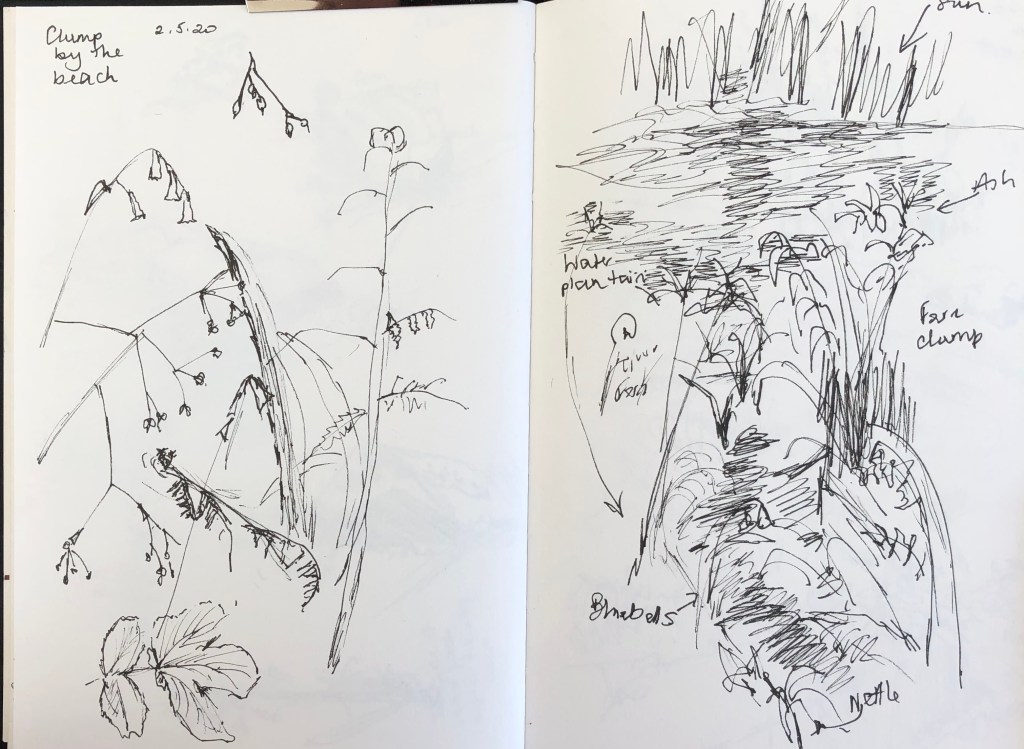
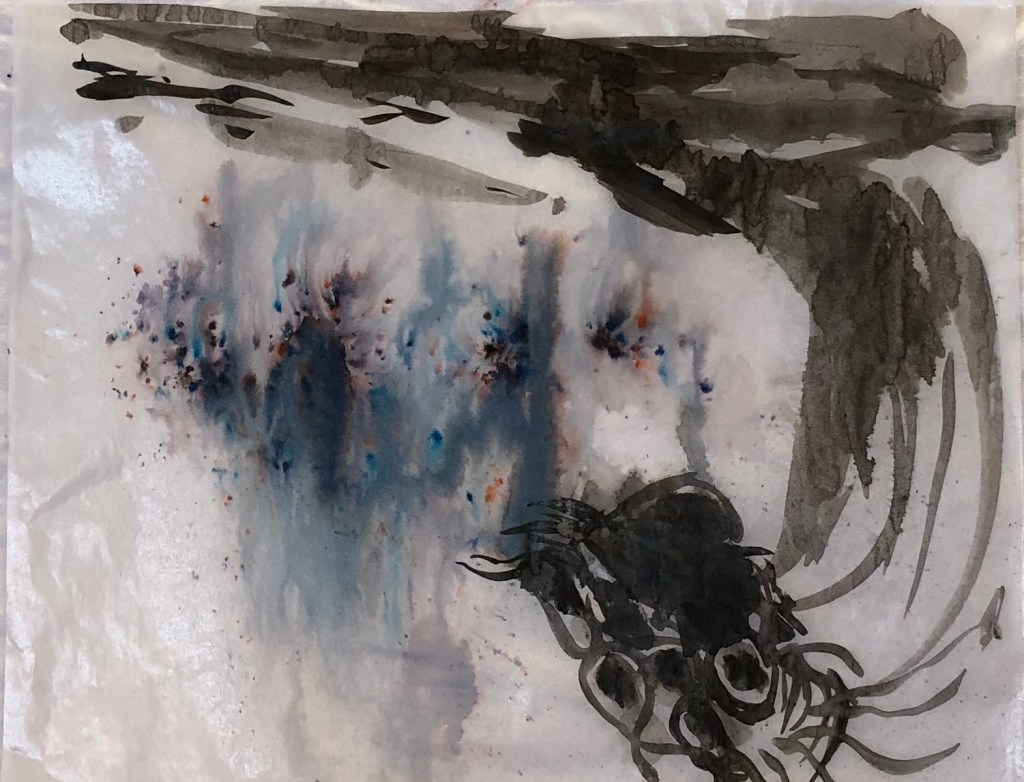
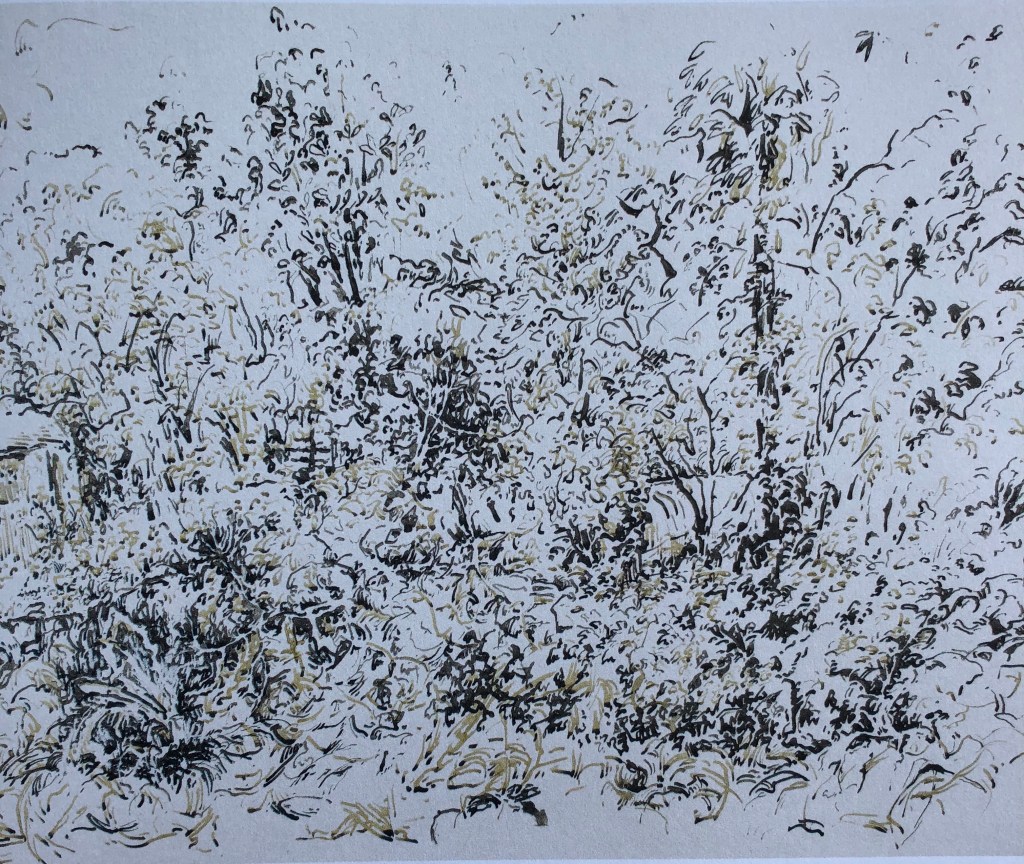
I was also interested in her own working method, which comes out of walking (links to my study in Part 5 of Lydia Halcrow’s work and, of course, John Virtue – see separate blog posts within Part 5). Her method actually uses the bodily motion – she will walk in her studio in order to trigger memories of what she has observed whilst out walking. She also (as advocated by Vija Celmins) likes to test out materials until she feels she really understands them and what they can do.
She made the distinction between “output” – basically all the experimental work you are doing – and “outcome”, which is your final piece. If you are fine with your output but freeze at the point of making your outcome (guilty as charged), and you think that one of your outputs is better, then don’t panic, but take that one output and investigate what makes it work for you – how can you build this into your outcome?
We went into some warming/loosening up activities, which she says are always useful, amongst other things, when you are feeling a bit tight (artistically, not alcoholically).
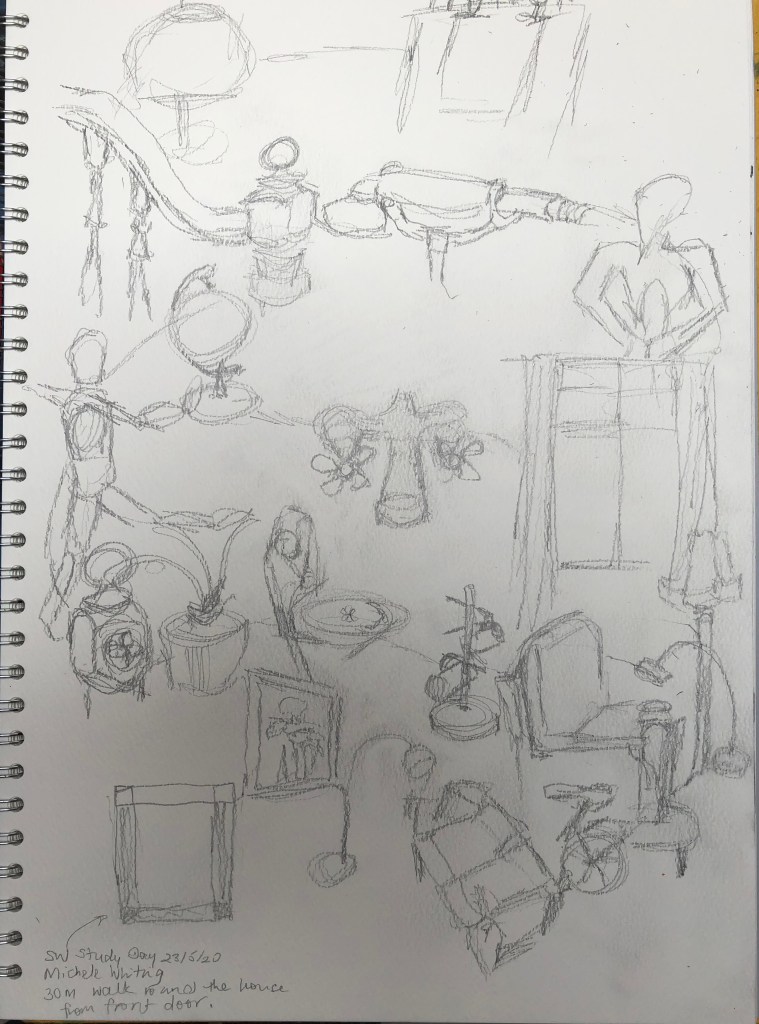
- First task was to take a sketchbook, start at our front door, and walk around your house drawing (it was left up to us what we drew) – we were supposed to end up back at the front door, but I have an old 3-storey Victorian house with lots of rooms so I arranged to end up in my studio, which is under the eaves, as we only had 30 min for the exercise. Also, you were meant to keep your pencil on the page. There was no time for thinking about how you were going to tackle this, so I ended up doing one quick thing in each place. When you’ve finished it’s interesting to look back and see what you chose on the spur of the moment; I seem to have gone for lots of round things – wheel, lamps, statuettes, taps and shower head, garden chair, more lamps, globe and finials. Sure that says something about my psyche. Apparently, some of the other students didn’t progress beyond their hallway! – so just goes to prove how much stuff you have to hand which you can draw – no more thinking “I don’t know what to draw”.

- Second activity was to take something simple from your kitchen – I chose a small squat jug – as subject matter. Tight timing again here – think it was something like 15 min to draw the subject 10 times whilst looking at it and your sketchbook, then 15 min to draw it 10 times looking at the subject but NOT your sketchbook, then 10 min to draw it 5 times looking at your sketchbook but NOT the subject OR your previous drawings. For me this proved the value of both the repetition and that exercise of not looking at your drawing page, which I did earlier in the course but had slightly forgotten; I was really struggling with the handle of the jug at first, but somehow knowing that you had to draw it without being able to see it really focused me in, and these are my final efforts.
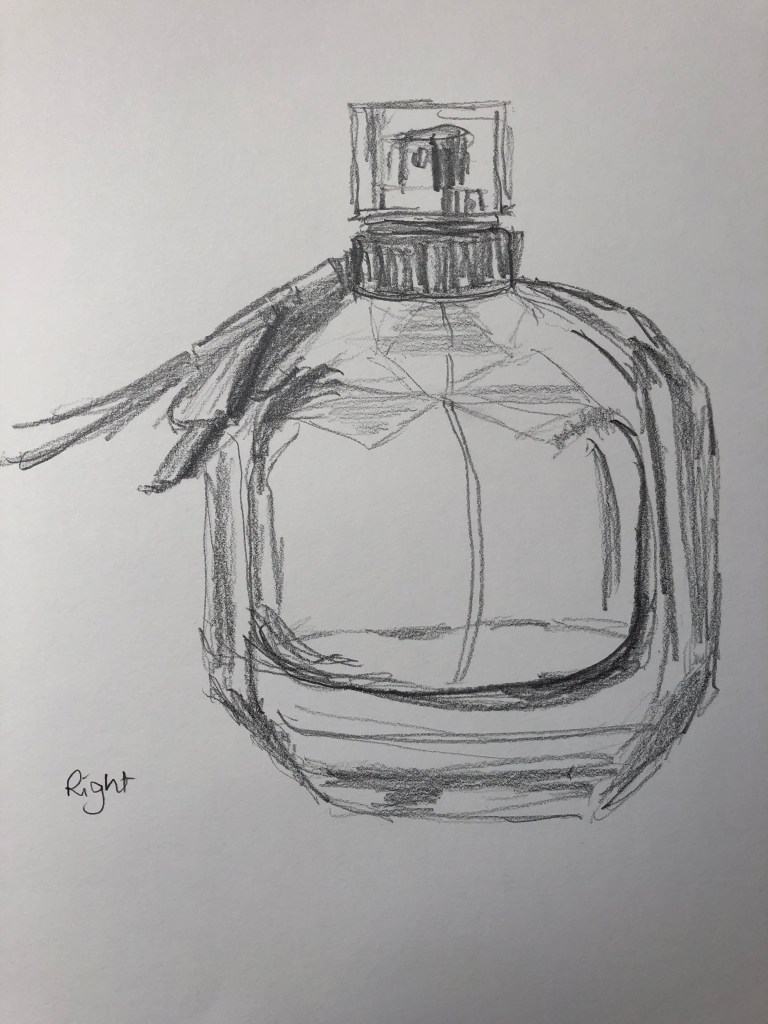

- Third task was using an object which was of significance to me and which I could hold in my hand (I chose an empty glass perfume bottle, which had been the first bottle of perfume my husband ever bought me). We had first to hold the object in our non-dominant hand (Michele used the term “unorthodox”) and had 15 min to draw it with our dominant (orthodox) hand, being able to look at it for reference. Then we had to put the first drawing out of sight, hold the object in our dominant (orthodox) hand, and draw it from memory (i.e. being able to feel it but not look at it) with our non-dominant (unorthodox) hand. Phew! The drawings in my case were fairly similar, as of course I have been using my left hand a lot after breaking the shoulder of my dominant right hand.
After sharing our work, Michele went on to suggest some other freeing/loosening up activities we could try out in our own time:
- Make yourself a box of tools which you have created – you don’t have to buy everything, you can make tools, so get inventive.
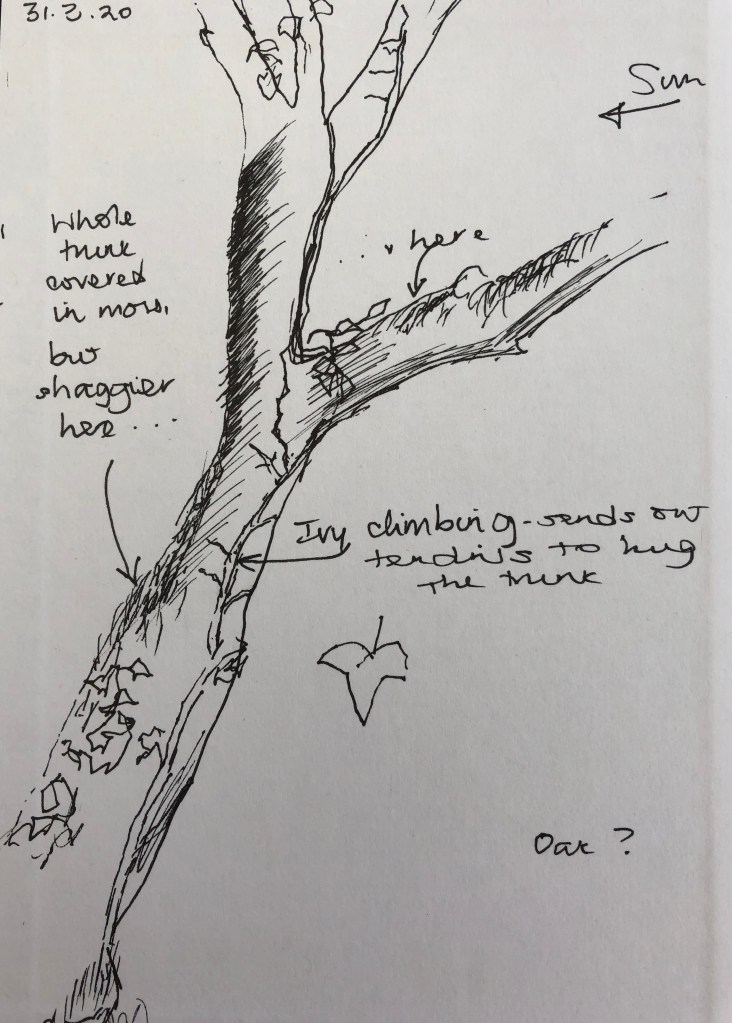
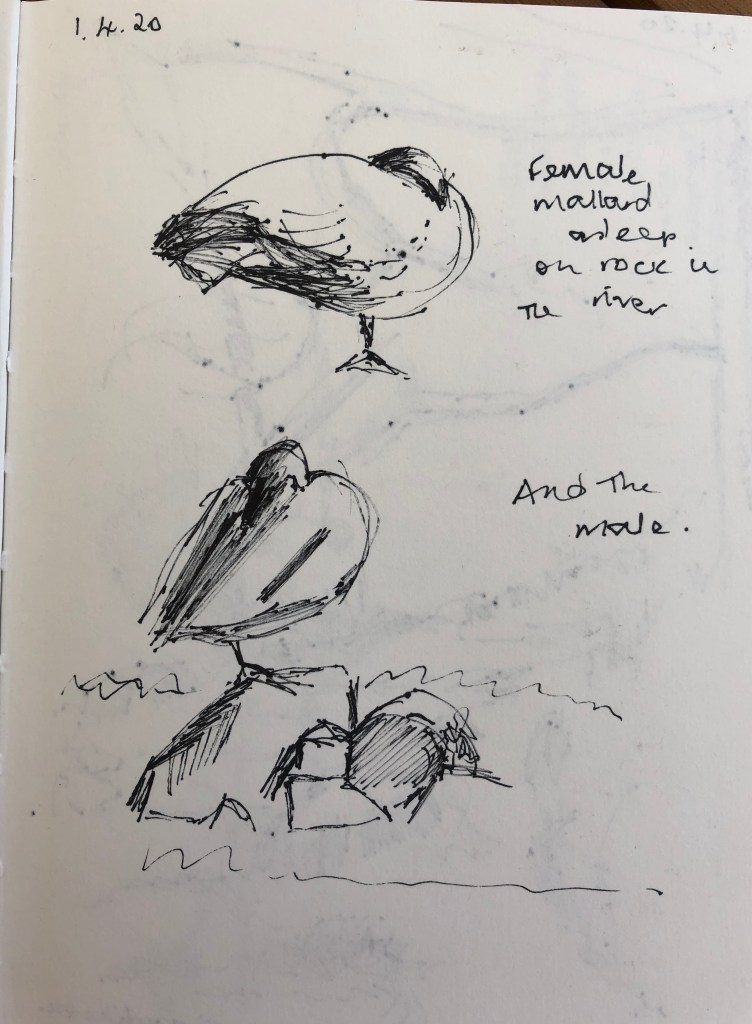
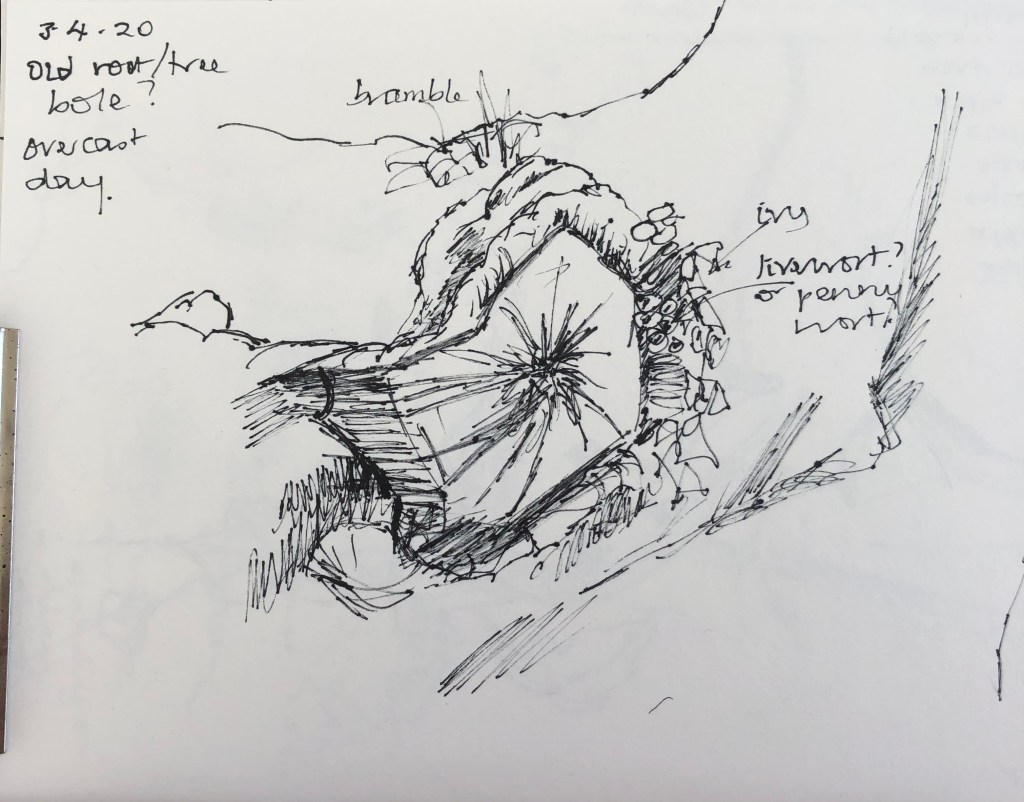
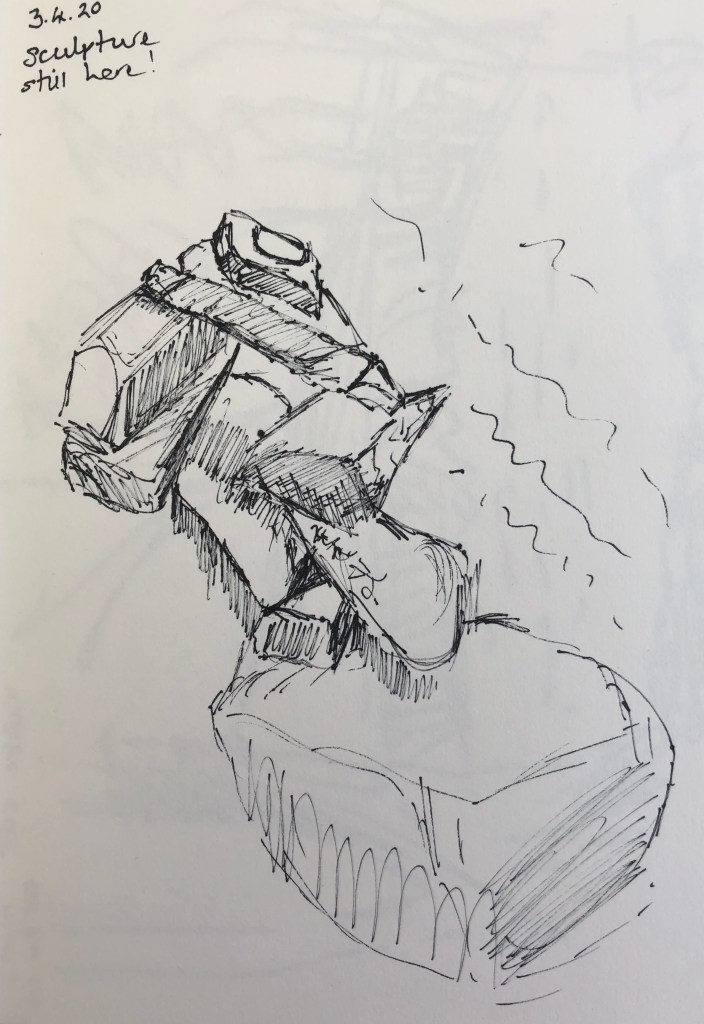
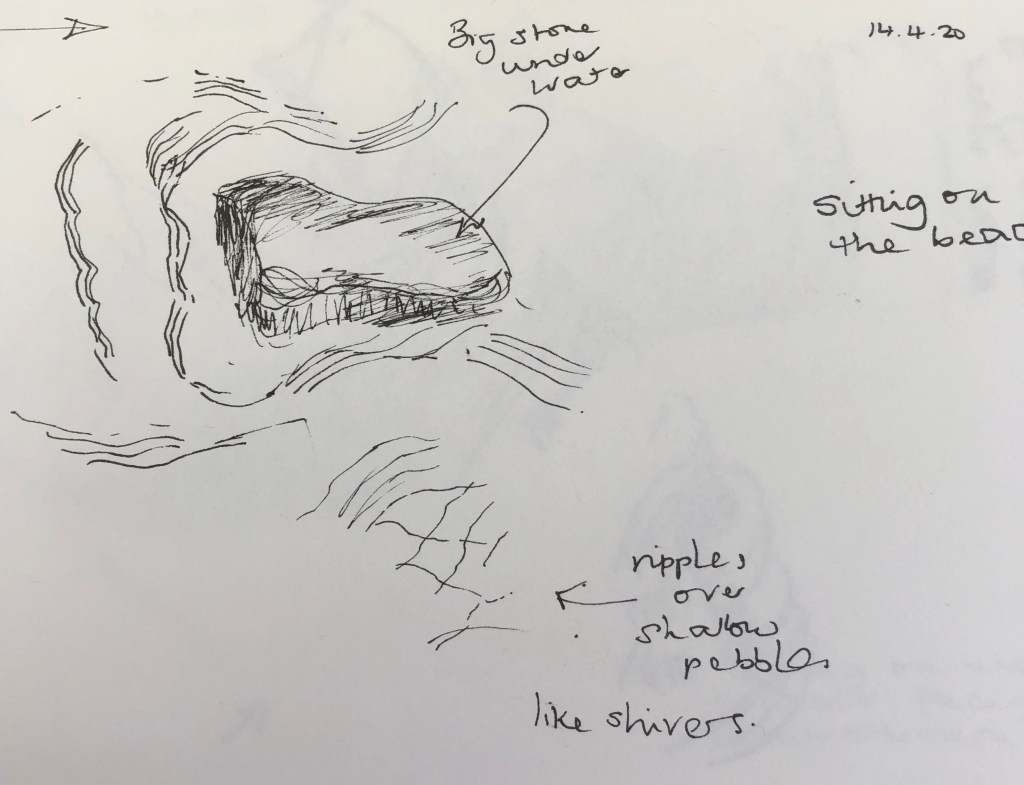
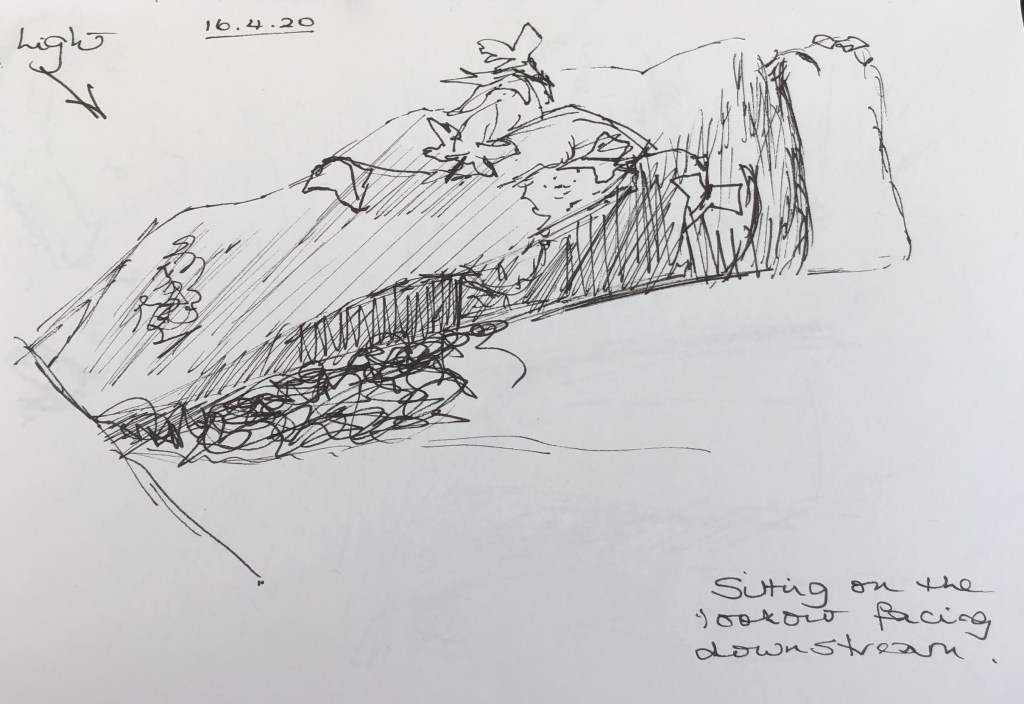
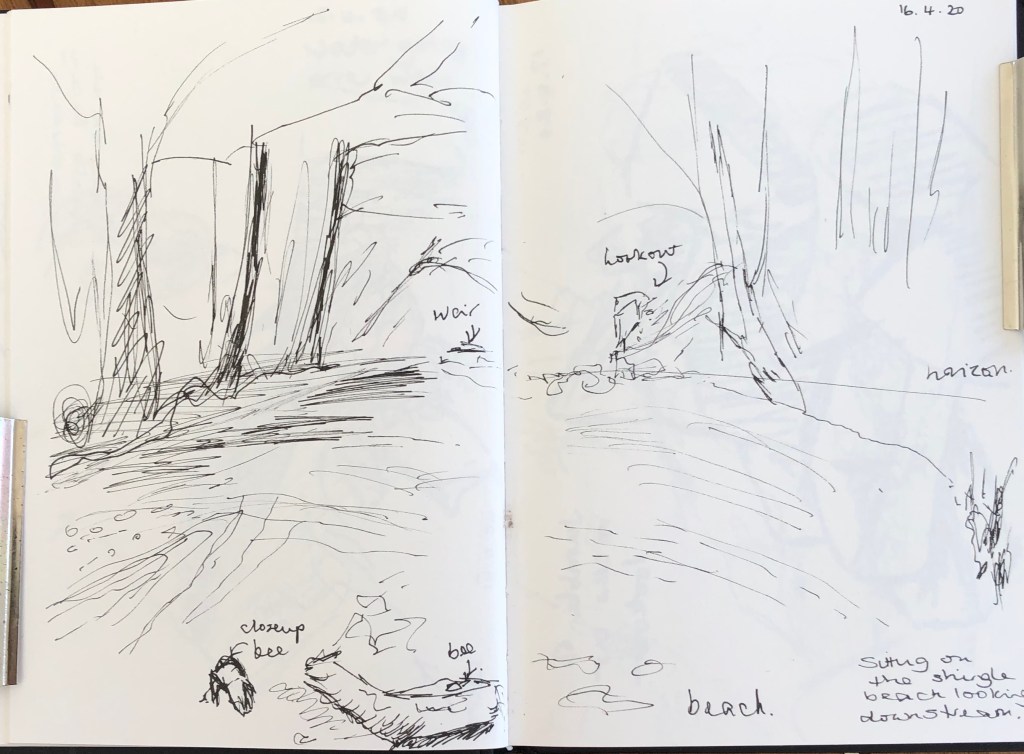
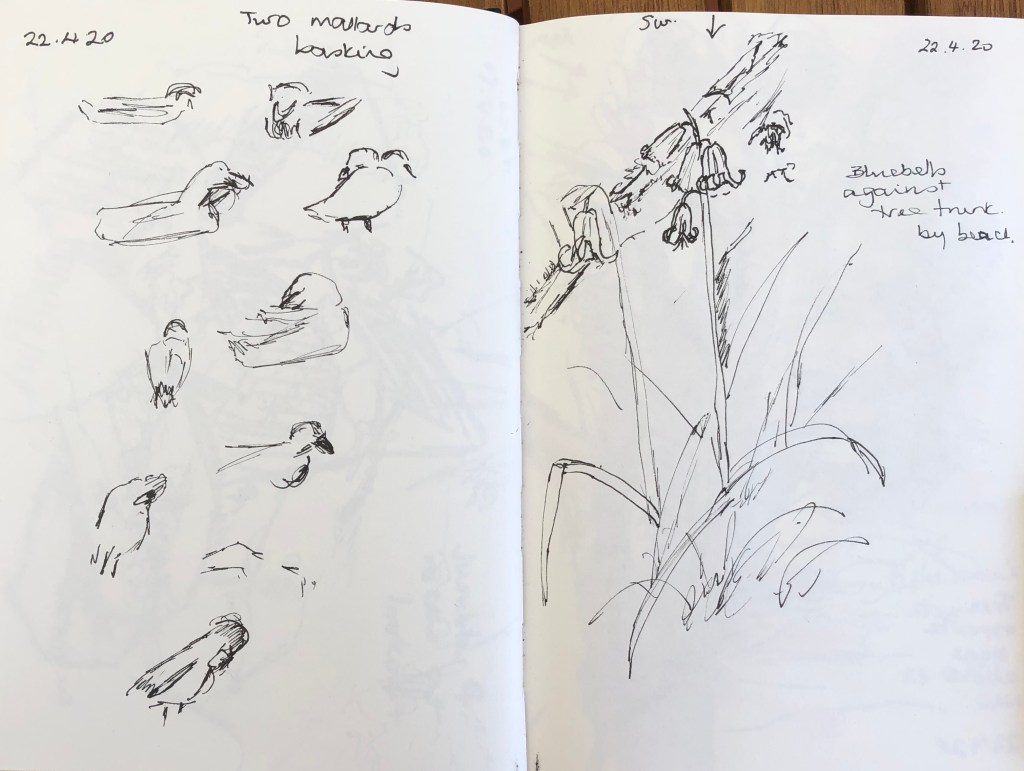
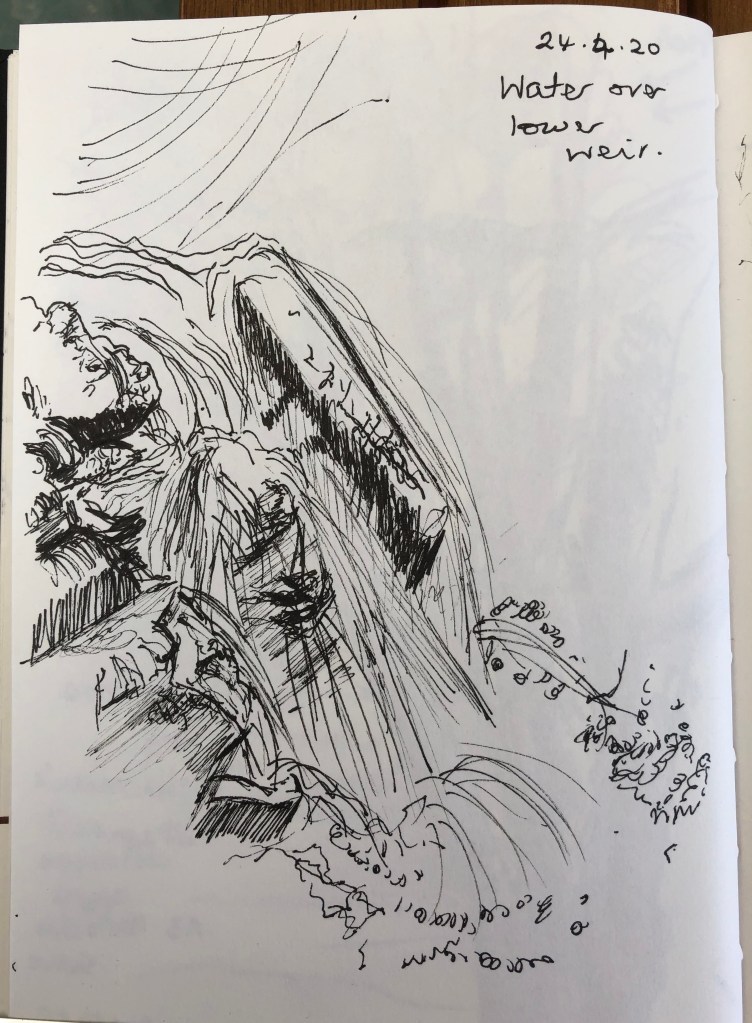
- Take a page and make a record of that day – you can draw, map write – the only rule is to have the date in the centre.
- Make a series of drawings of your face by feeling it but not looking – don’t have to do a full face, can do sections, use either hand…
- In your immediate environment, just pile stuff into a quick assemblage, don’t be over fussy, and just draw it.
- Do 50 drawings of the same object in 4 hours – see how your drawings change.
- Take a phrase and make an image using the letters as many times as you like.
- Make tonal range strips to explore your medium.
We had a quick discussion about assessment and issues arising from the change to digital submission. Points arising:
- Choosing your blog posts – you will end up with only a small array – tutors were missing out on evidence of “discernment”, but this will show the assessors your thinking and priorities.
- Someone had tabulated their blog posts, referring to link and learning outcome. You could put links to a url or, if not confident with this, could make them into a pdf. You can reorganise written work from your blog. You can put your chosen blog posts into one document for ease of reference for the assessor.
- Clarity, flagging things up is really important.